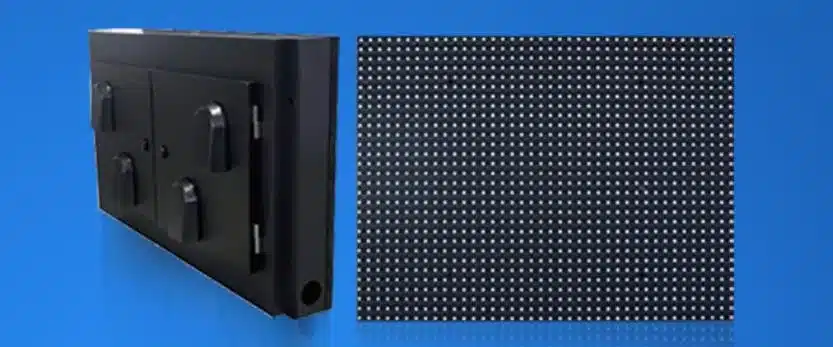
Understanding LED Display Scan Modes: Static vs. Dynamic Scanning & Differences Between 32-Scan and 64-Scan

LED display scan modes play a crucial role in determining the brightness, refresh rate, power consumption, and overall performance of a display. In this guide, we will explain static scanning, dynamic scanning, and how 32-scan and 64-scan differ.
1️⃣ What is LED Screen Scanning Mode?
When you see terms like 1/2, 1/4, 1/8, or 1/16 scan, they refer to how the LED pixels are controlled and refreshed in an LED display.
A higher scan number (e.g., 32-scan, 64-scan) means that the screen is divided into more zones, and these zones are sequentially illuminated to form a complete image. This is similar to how movies are displayed frame by frame to create motion.
For example:
- 32-scan means the display is divided into 32 zones, and these zones are turned on one at a time in rapid succession to form an image.
- 64-scan means the screen is divided into 64 smaller zones, and each zone is refreshed even faster.
The more zones the display is divided into, the smoother the color transitions, but this also affects brightness and performance.
2️⃣ Static Scan vs. Dynamic Scan
LED displays mainly use two scanning methods: 1️⃣ Static Scan (1/1 Scan or Direct Drive)
2️⃣ Dynamic Scan (e.g., 1/2, 1/4, 1/8, 1/16, etc.)
🔹 Static Scan (1/1 Scan)
- In static scanning, every LED pixel is controlled individually by the driver IC.
- All LEDs are turned on simultaneously, making the screen brighter and more stable.
- It does not require additional control circuits, but it costs more as it needs more driver ICs.
- Best for outdoor displays, where high brightness is required.
💡 Key Features: ✔ Brighter display (higher LED duty cycle)
✔ Better stability and longevity
✔ Higher cost due to more ICs used
✔ No flickering or ghosting
✔ Ideal for high-end applications
🔹 Dynamic Scan (1/2, 1/4, 1/8, 1/16, etc.)
- In dynamic scanning, the driver IC shares control over multiple LED pixels by activating them in sequence.
- This allows for fewer driver ICs, reducing cost but reducing brightness.
- The display rapidly switches between different sections to simulate a fully lit screen.
💡 Key Features: ✔ Lower cost (fewer driver ICs)
✔ Reduced brightness (since each LED is active for a fraction of the time)
✔ Flickering may occur on lower refresh rate screens
✔ **Used in indoor displays where extreme brightness is not needed
🔹 How Does Scanning Affect Brightness?
- A 1/4 scan display is brighter than a 1/8 scan display.
- A 1/8 scan display is brighter than a 1/16 scan display.
- Static scan is the brightest because all LEDs remain on simultaneously.
3️⃣ Understanding 32-Scan vs. 64-Scan Displays
Now that we understand scan modes, let’s compare 32-scan vs. 64-scan in LED displays.
| Feature | 32-Scan | 64-Scan |
|---|---|---|
| Definition | The screen is divided into 32 zones, each refreshed sequentially. | The screen is divided into 64 zones, making the refresh process faster. |
| Brightness | Higher brightness because each LED stays on longer. | Lower brightness as LEDs are refreshed more frequently and are active for shorter durations. |
| Power Consumption | Higher power usage due to longer LED activation. | Lower power consumption. |
| Refresh Rate | Lower refresh rate, but sufficient for most displays. | Higher refresh rate, reducing flickering in videos and high-motion content. |
| Cost & Complexity | Uses more ICs, making it more expensive. | Uses fewer ICs, lower cost but may suffer from color distortion and uneven brightness. |
| Suitability | Suitable for indoor & outdoor applications, especially when brightness is critical. | More suited for indoor applications where high refresh rates matter more than brightness. |
Key Takeaways:
✅ 32-Scan offers higher brightness, making it better for applications where clarity in daylight is needed.
✅ 64-Scan provides a higher refresh rate, making it suitable for video content or digital signage where motion clarity is important.
✅ If you need a balance between brightness and refresh rate, 32-Scan is a good choice.
4️⃣ How to Determine the Scan Mode of an LED Display?
A simple method to identify an LED panel’s scanning mode:
1️⃣ Count the total number of LED pixels on the panel
2️⃣ Count the number of 74HC595 driver ICs on the board
3️⃣ Use this formula:
Scan Mode=Total LED PixelsNumber of 74HC595 ICs×8\text{Scan Mode} = \frac{\text{Total LED Pixels}}{\text{Number of 74HC595 ICs} × 8}Scan Mode=Number of 74HC595 ICs×8Total LED Pixels
Example Calculation:
- An outdoor P10 LED panel has 512 LEDs and 16 driver ICs.
- Using the formula: 512×168=4\frac{512 × 16}{8} = 48512×16=4
- The scan mode is 1/4 scan.
Another example:
- An indoor dual-color 5.0 LED panel has 2048 LEDs and 16 driver ICs.
- Using the formula: 2048×168=16\frac{2048 × 16}{8} = 1682048×16=16
- The scan mode is 1/16 scan.
5️⃣ Choosing the Right Scan Mode for Your Application
When selecting an LED display, consider the following:
✔ For outdoor applications (high brightness required):
- Choose static scan or low scan modes (1/2, 1/4 scan).
✔ For indoor applications (cost-effective, decent brightness):
- Choose medium scan modes (1/8, 1/16 scan).
✔ For high-refresh, high-performance video applications (broadcasting, esports, theaters, etc.):
- Choose higher scan rates (32-scan, 64-scan).
✔ For budget-conscious projects (advertisements, shopping malls, etc.):
- Choose 64-scan to save on cost while maintaining decent image quality.
📌 Final Thoughts
Understanding LED display scan modes helps in making better choices based on your needs. Static scanning provides the best brightness, while dynamic scanning helps in reducing cost. 32-scan and 64-scan offer different trade-offs in brightness and refresh rate, and choosing between them depends on whether you prioritize visual quality or budget.